

How to Photograph Silver (Without the Glare)
To photograph silver without glare, light the room, not the statue. Three phone-camera tricks from a workshop that shoots its own silver every week.
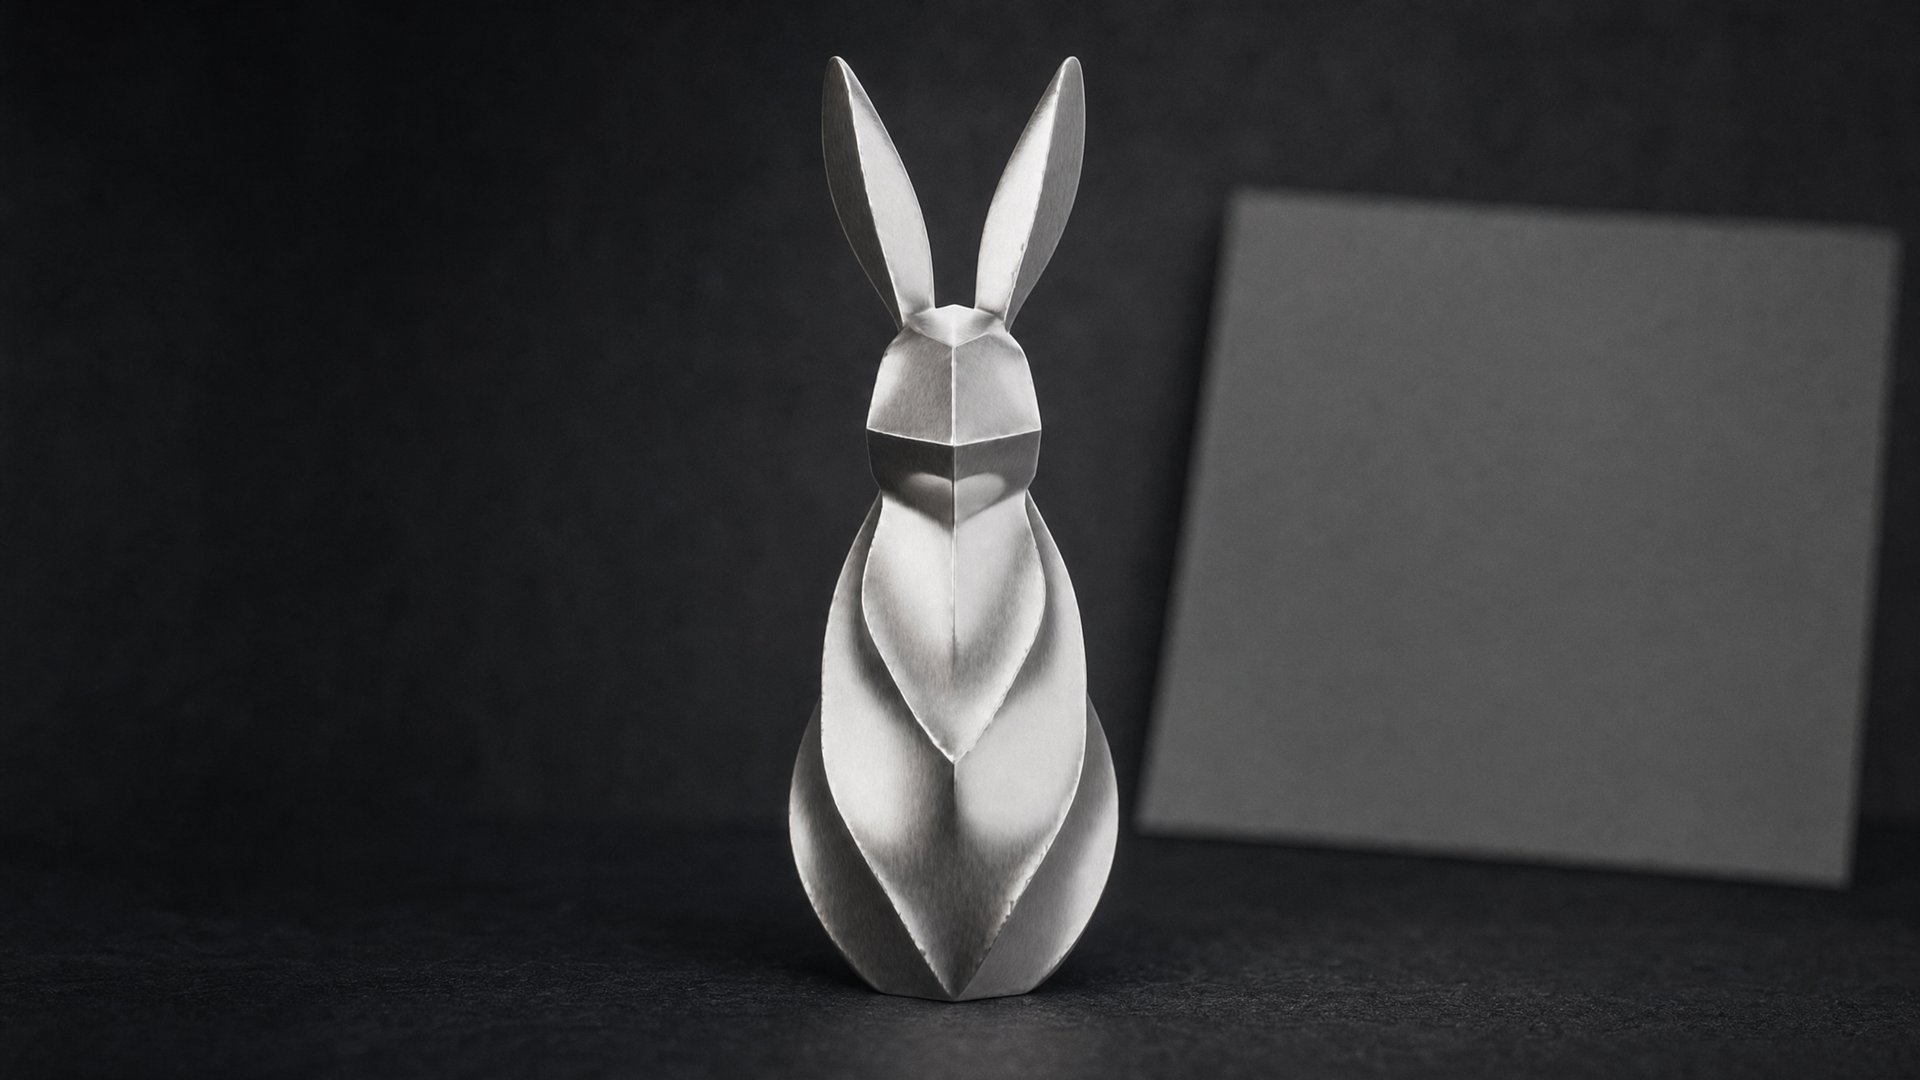
Point your light at something white and let the statue borrow it. That’s the whole trick. Glare on silver is the reflection of a small, bright light source, so you fix it at the source, never by tilting the statue around and hoping.
You’ve already met the problem or you wouldn’t be here. The piece looks incredible on the shelf. You pull out your phone, the flash fires, and the photo shows a white smear where the detail used to be, plus a tiny ghost of your own hand holding the phone. We’ve taken that exact photo ourselves, back when the workshop first started shooting its own pieces, more times than we’d like to admit.
Here’s why it happens, and the three moves that fix it.
The short version
- Flash off, always. A phone flash is a bright point an inch from the lens — the worst light silver will ever meet.
- Shoot near a window, not sun. An overcast sky or the shady side of the house is one enormous soft light source, free.
- Build a small white world around it. Poster board or foam core on either side turns random reflections into clean highlights.
- Lock focus on the brightest highlight, then drag exposure down. A dark photo can be rescued later; a blown-out highlight can’t.
- Know your finish. Smooth polished pieces need the most white; dark or heavily textured pieces need the opposite.
Silver is a mirror with a shape
Polished silver has no color of its own. On camera it shows you whatever surrounds it: the window, the ceiling bulb, the phone, your knuckles. When you photograph silver you are really photographing the room it sits in, wrapped around a form. Which is why generic product-photo advice fails here. “Add more light” makes a sweater look better and a statue look worse, because every light you add is one more hot white dot the surface will faithfully report back.
So the entire job comes down to controlling what the surface has available to reflect. Big soft sources read as gentle gradients. Small bright ones read as glare. Same statue, same phone.
Trick one: one big soft light, not three small ones
Flash off, first and always. A phone flash is a bright point an inch from the lens, the worst light source a piece of silver will ever meet. Ceiling bulbs are barely better.
What you want is a window. Not sun, a window. Direct sunlight is a small source too (it’s just very far away), so shoot on the shady side of the house or wait for clouds; an overcast sky is an enormous diffused light that costs nothing. If the sun insists, tape a white bedsheet or a sheet of parchment paper over the glass and let the light come through that. Then turn the room lights off so they can’t add their own dots.
Set the statue on a table a few feet from the window, turned so the light rakes across it rather than hitting it head-on. Raking light is what shows the tool marks. On a piece finished by hand, the tool marks are the point.
Trick two: build a small white world around it
Whatever the statue can see, the camera will see on the statue. So decide what it sees. Two pieces of white poster board, propped upright on either side just out of frame, turn random room reflections into clean, even highlights. Foam core is sturdier. A white T-shirt draped over a chair works in a hotel room.
How much white you need depends on the piece. Three finishes from our catalog show the range.
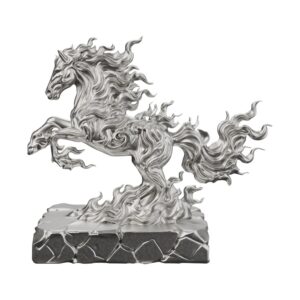
The demanding one: wall it in white
All flowing mane and rounded muscle. It behaves like a curved mirror and picks up every stray object in the room until you surround it with white.

The forgiving one: almost no fuss
Heavy texture scatters light a thousand directions off the snakes, so it takes a good photo with almost no fuss.

The opposite-rules one
A dark finish wants a few deliberate bright streaks along its wings and edges to define the shape. Drown it in white reflection and it turns flat gray, losing the menace you bought it for.
Know which kind you own, and you know how much cardboard to fetch.
Trick three: lock the focus, drag the exposure down
Frame the shot, then tap and hold on the brightest highlight until the focus locks. Now drag the little sun slider down until the highlights stop being pure white. The photo will look slightly dark on screen. Good. A phone can rescue a dark shadow later with one edit; nothing on earth can rescue a blown white highlight, because the camera recorded no detail there to bring back.
Two small things before you press the button. Wipe the piece with a soft dry cloth, since at phone distance a fingerprint shows up like a signature (if the silver has darkened over time, a silver cloth brings it back, never a dip, never anything abrasive). And when a reflection lands somewhere annoying, move the camera an inch instead of the statue. Your setup took ten minutes. The camera moves for free.
The reflections you should keep
The honest part
Now the limitation, stated straight: you will never remove every reflection from silver, and you shouldn’t try. A statue reflecting nothing photographs like pewter. Dull, gray, dead. What separates the photo you delete from the photo you send everyone is never the absence of reflections, it’s whether they show up as one blown smear across the face or as a few clean gradients running the length of the form. Manage them, don’t erase them.
And some situations can’t be managed. One ceiling bulb at 11 p.m. defeats every trick on this page, and no amount of poster board will save you. Set the piece by the window and take the picture in the morning. It spent 4–8 weeks being designed, printed, cast, refined, and stamped; the photo can wait one night.
Where to start
When you get the shot, we'd honestly like to see it — info@sygusa.com reaches the workshop, and pictures of pieces living on real shelves are the best part of this job.